User Management
User Management is accessible for clients with access level ADMIN. Clients authorized with this access level can create, reset, modify, delete or impersonate accounts on Qb2.
To open the user management page click on the wrench icon in the account indicator.

The user management page is split in two columns.
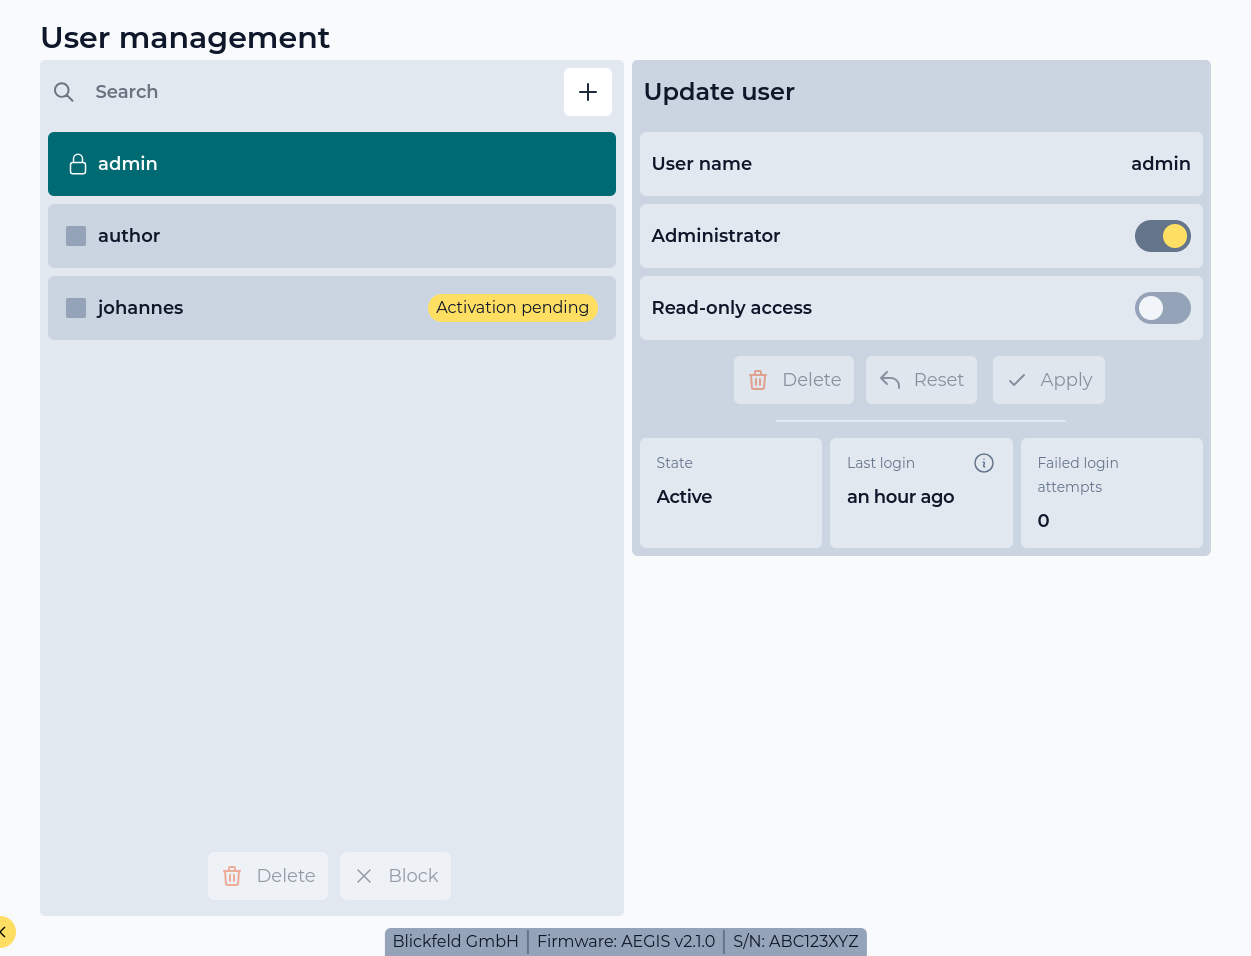
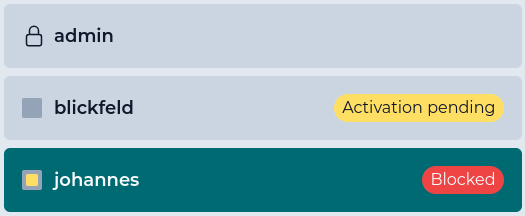
On the left side the list of accounts is displayed. Each entry of the list can be selected by clicking the checkbox on the left of the account name. The list can be searched by typing a in the search bar on the top. Two buttons on the bottom of the list allow apply batch actions to selected accounts (Delete or Block).
The right column displays details of the account which is selected on the left column. Basic attributes (ADMIN or Read-only access) of a selected account can also be modified here.
Create
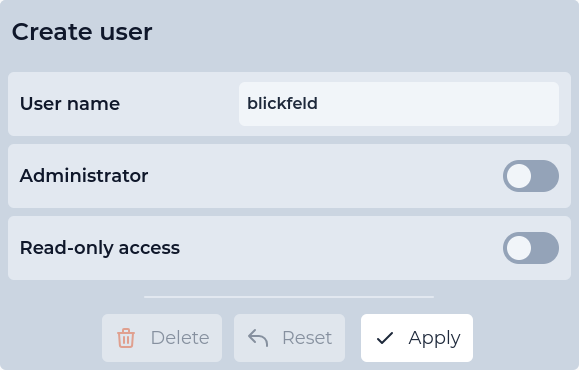
To create a new account, basic account attributes have to be specified:
| Attribute | Required | Comment |
|---|---|---|
Name |
Value has to be unique, can not contain whitespace characters |
|
Administrator |
default: |
|
Read-only access |
default: |
All other attributes of the account are set by the device. The state of newly created accounts is set to WAITING_FOR_ACTIVATION. When the account was created successfully, the activation password is displayed.
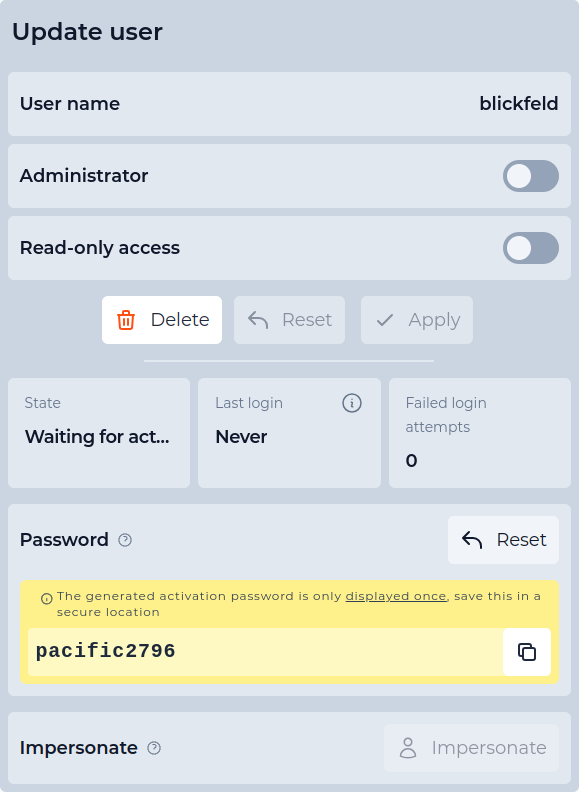
Click the copy button to copy the generated activation password to the clipboard. Login with the new account and the activation password to active the account. During login with this activation password the web interface prompts the user to update its password to activate the account.
Modify
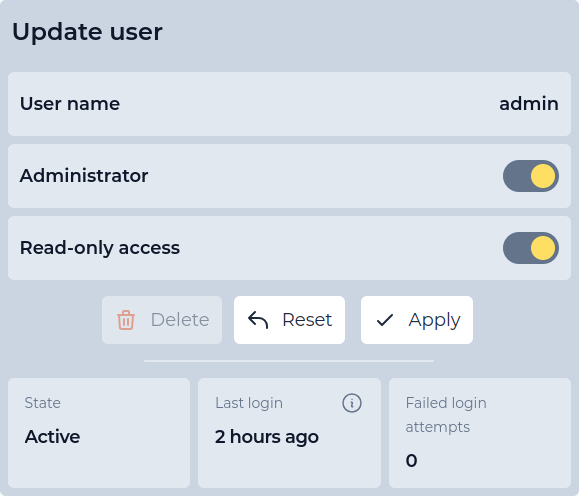
Once an account has been created the access attributes of the account can be modified.

Block & Reset
The account state is visualized in the account list. If no badge is displayed the account is in ACTIVE state.
The Block & Reset methods can be used to temporarily deactivate authentication or to re-gain access to the account in case the current password is lost.

While the account is reset or blocked for regular use, all other properties of the account (e.g. access level, application keys) are kept intact.
Block
When the account state is set to BLOCKED the account or any of the configured application keys can no longer be used for authentication. When the account afterwards reaches the ACTIVE state the account and all linked application keys can be used again.
Reset
This action sets the account state to WAITING_FOR_ACTIVATION and returns an activation password. During login with this activation password the web interface prompts the user to update its password to activate the account.
Delete
Accounts can be deleted (or blocked) via group actions from the list view.

Here the button has to be clicked and held (long-press) in order to trigger the deletion. This action removes the account and all associated application keys and can not be undone.
Impersonate
The impersonate mode is a tool to see the Qb2 web interface from the perspective of a user.

Once in impersonation mode the account indicator on the sidebar will show up in blue to indicate that this is not a real session.

|
You are acting as the impersonated user. This means that you can also modify or delete configurations only accessible to the user itself (e.g. the account name, account password or application keys). |
To leave impersonation mode click the X icon on the account indicator on the sidebar.