How to start Percept
| If you want to re-use projects from old Percept versions with a new Percept release, please have a look at the chapter how to migrate Percept projects. |
| The docker-compose file lists all services, exposed ports and mapped folders. It will start the server, frontend and the NTP-server. In Addition, the server will also start an envoy-proxy to allow the communication between the frontend and the server. |
| Percept will automatically start Docker containers if required, e.g. when you run multiple projects at the same time. |
| The NTP container is started to provide a possibility to time synchronize the devices via NTP. You may want to remove this part from the docker-compose file, if you have your own NTP server running. You will learn more on when to use time synchronization in later chapters. |
Windows
-
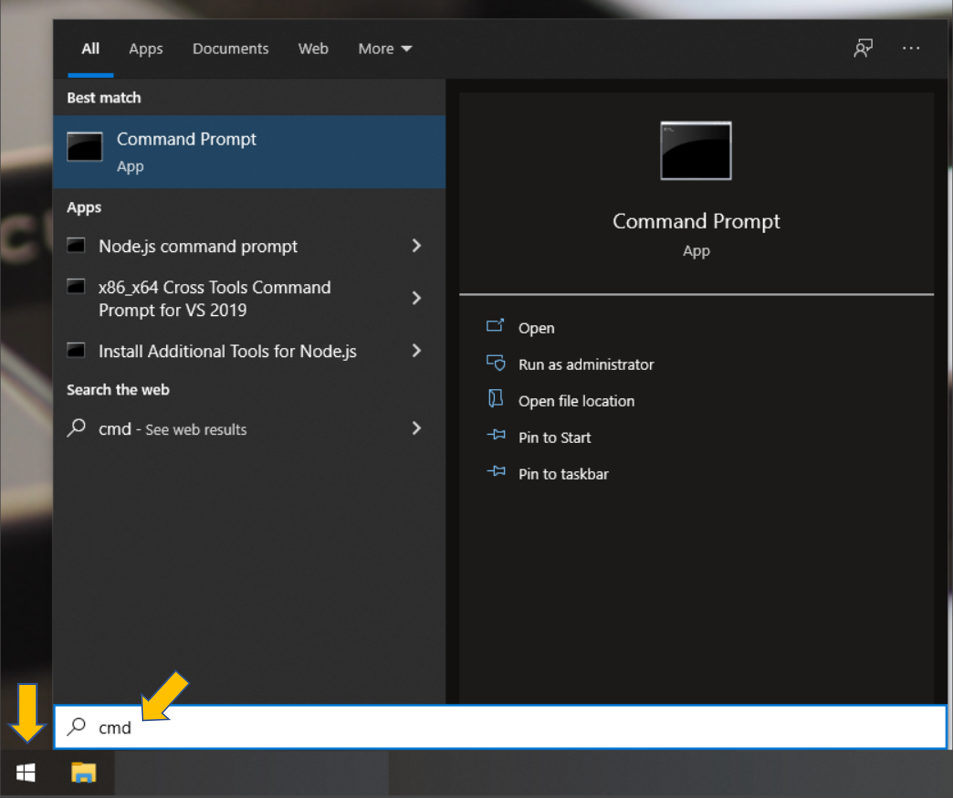
To start Percept you have to open up the Windows Command Line Tool (You can do this by typing in cmd in the window start popup and hit enter).

-
Inside the command line tool you have to navigate to the folder you downloaded and extracted Percept using the appropriate command line tool commands (e.g. "cd download" for changing from your user home directory to the download directory, see screenshot).

-
Once you are inside the Percept directory type in and execute the following command:
-
docker-compose up
-
-
Windows might ask for permission to share local directories. To make sure Percept runs as intended click on "Share it"
-
Open a web-browser and access the and follow How to access the Web Interface.
Ubuntu
-
To start Percept execute the following command inside the Percept directory
-
docker-compose up
-
|
Running an upgraded Percept version
After upgrading Percept to another version, errors might occur when you try to start Percept. This can be resolved by removing stopped containers. Type |
How to access the Web Interface
-
To access the Web Interface of Percept open a web-browser and enter
-
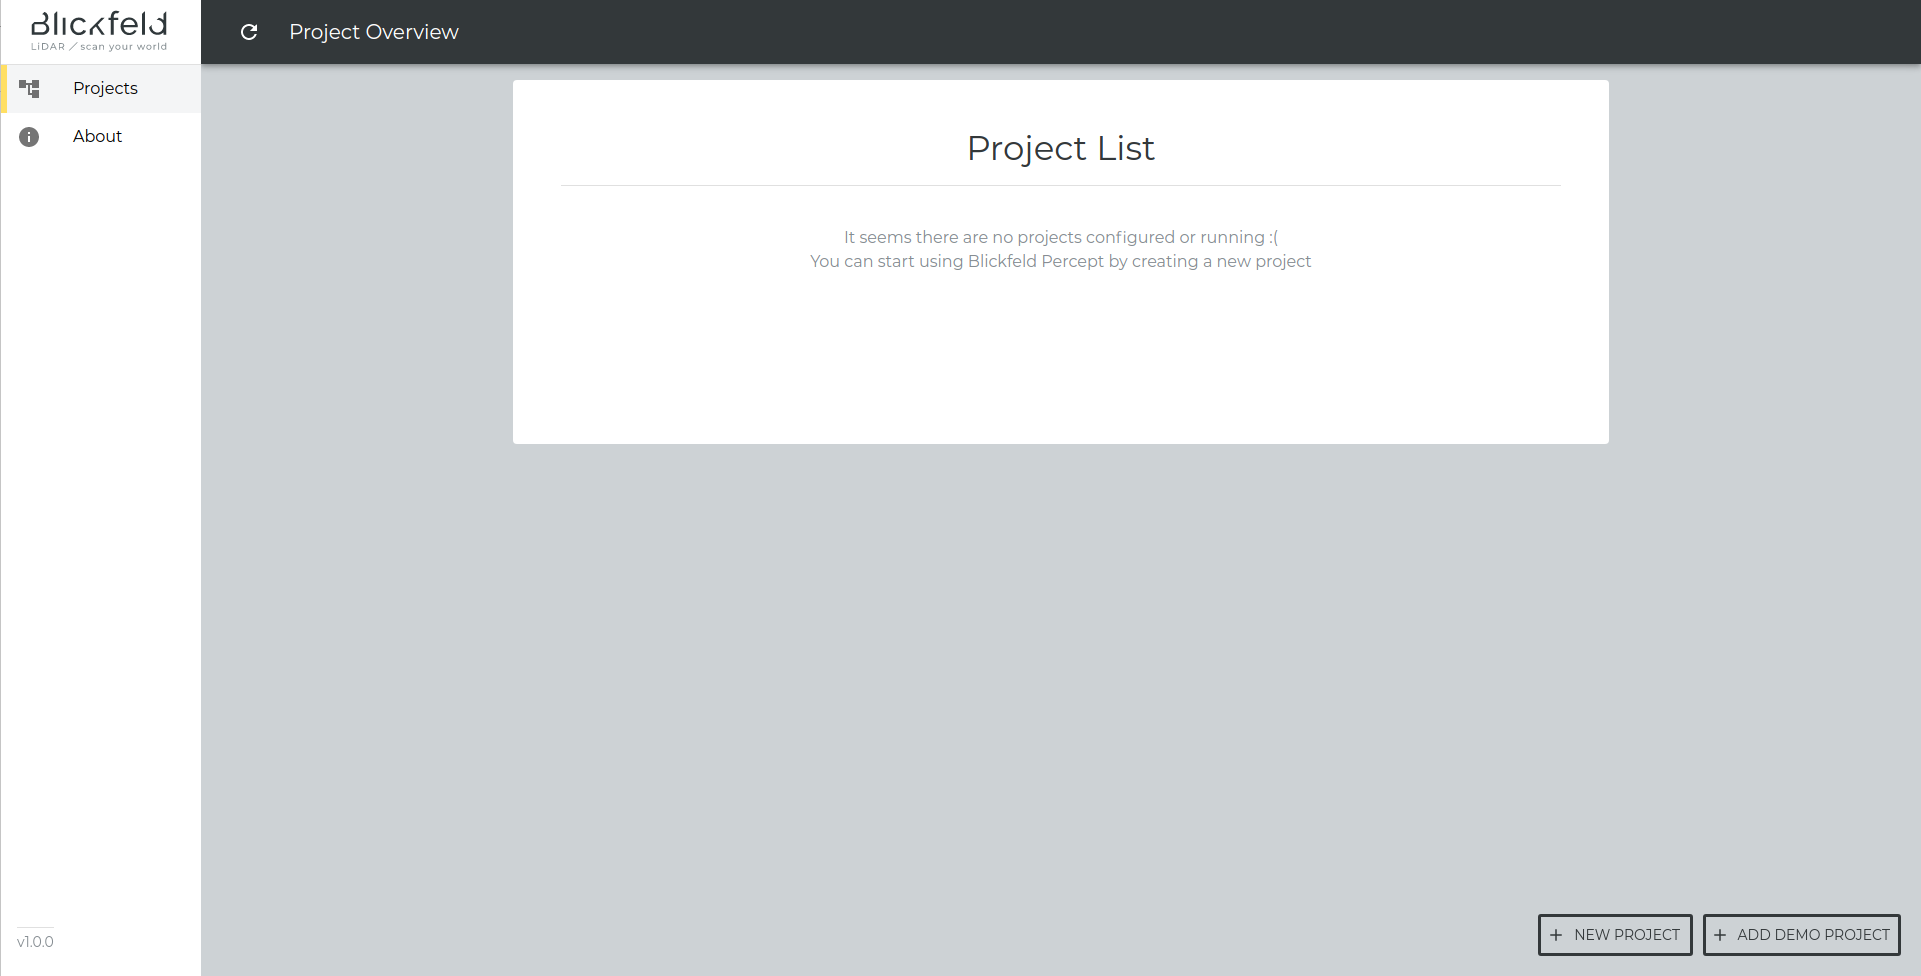
http://localhost/ or http://127.0.0.1:80/ and you should see the Percept start screen as shown in the image below
-
