How to migrate Percept projects
After installing a new version of Percept, you may want to continue using some projects you configured with an older version. In order to do this, first you need to set up Docker, as explained in how to install Docker, and load the Percept image, as described in how to install Percept.
If this is done, you can then follow these steps:
-
The projects you configure are saved in the
data/projectsfolder inside the Percept folderDownloads/blickfeld-percept-v1.x.x_licensed/blickfeld-percept-v1.x.x_licensed(for the licensed version) orDownloads/blickfeld-percept-v1.x.x_trial/blickfeld-percept-v1.x.x_trial(for the trial version). This is the same folder that you used to install Percept in the section how to install Percept. You can copy the projects you want to migrate from thedata/projectsfolder of the old Percept version to thedata/projectsfolder of the new one. -
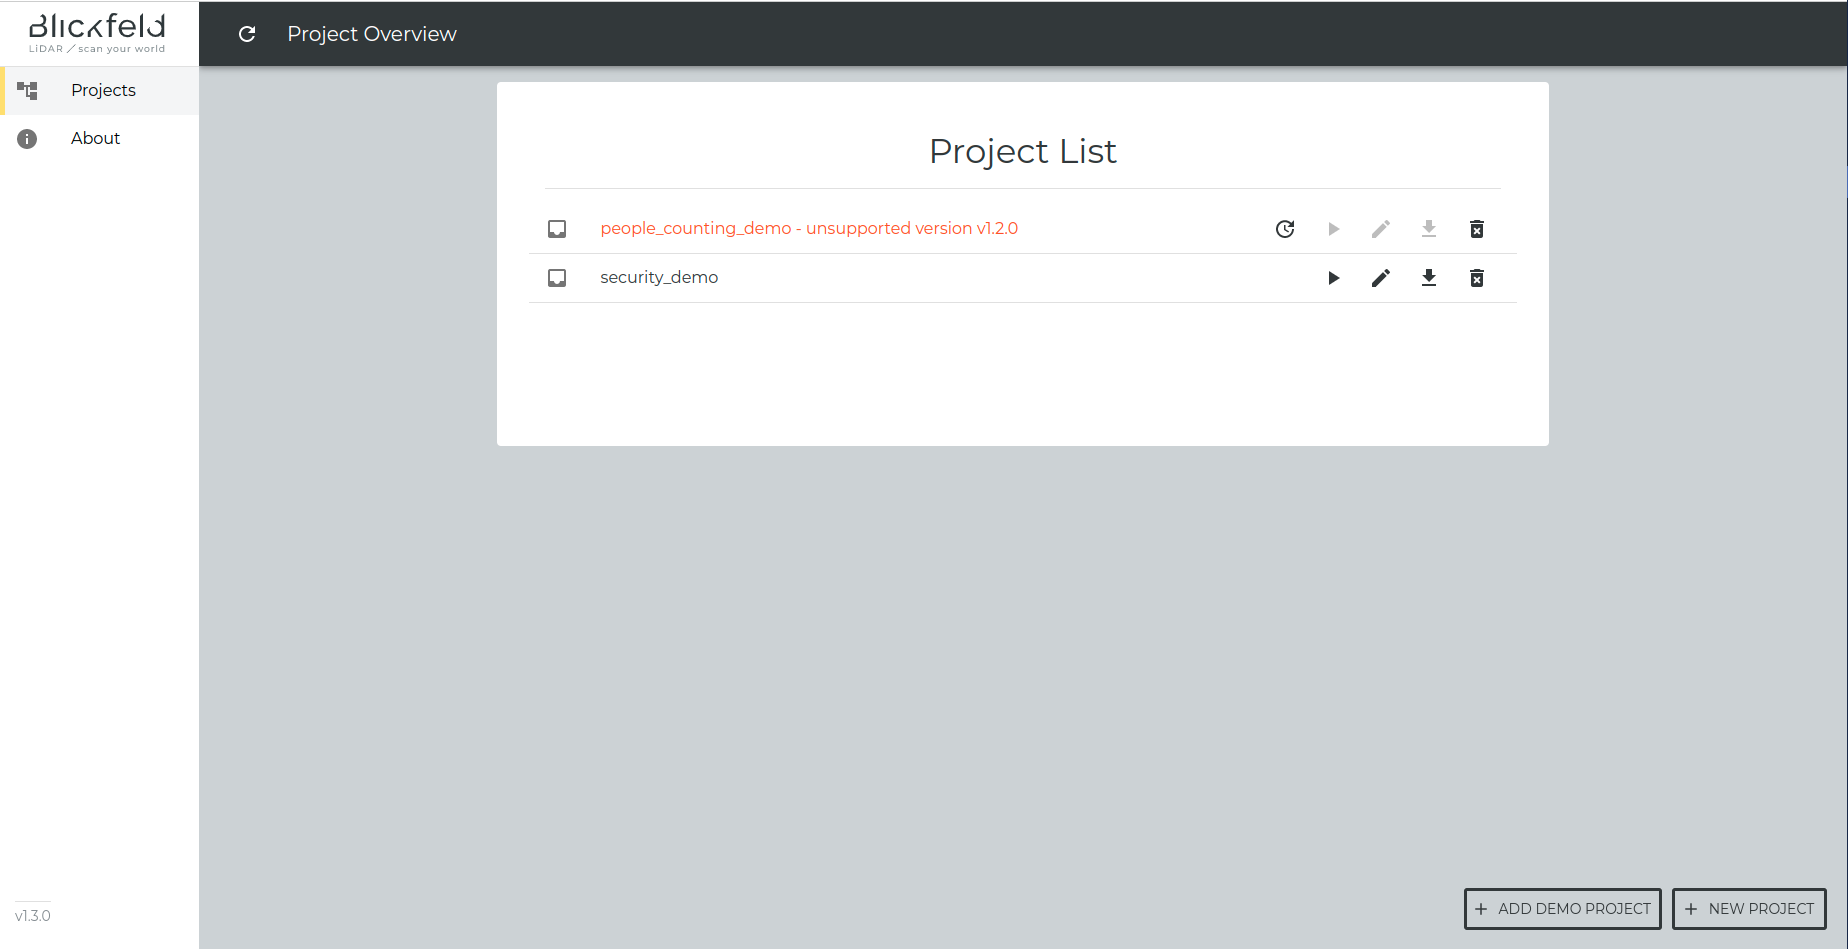
Start Percept as explained in how to start Percept. As you can see in Old projects loaded in Percept, projects created with an old Percept version are colored in red and their buttons are disabled. These projects also have an additional button (the one using the "update" symbol). By clicking on it all the projects will be converted to the current Percept version.
-
The Project Migrator will go through all the projects you copied in the
data/projectsfolder and migrate them one by one to the currently used Percept version. The operation may take a few minutes and its logs are contained in thedata/server_logsfolder. After that, the old projects will no longer be colored in red and you will be able to start using them.
| Note that after clicking on the "Migrate" button, all the projects will be updated to the currently used Percept. Also, note that all projects need to be stopped before starting the migration. |
| The Project Migrator can only update old projects to the currently used Percept. Projects from an even newer version can’t be downgraded. |
The project migrator will create a backup of your projects in 'data/deprecated_projects'. The name of the backup folder is the same as the original one with the addition of the Percept version it is compatible with. It is recommended to keep the original project folder, contained in the data/projects directory of the old Percept version, since the Project Migrator will overwrite its copy created in the new Percept version.
|
[Advanced] Migrating the projects using the Docker container
Another option to migrate the projects to the new Percept version is to directly run the Project Migrator Docker container. Before doing this, please make sure that Percept is currently shut down by stopping any docker-compose up command you may have run. In addition, you can run the docker ps command, which lists the currently running containers. Its output should be empty before running the Project Migrator. If not, please see How to force Percept to stop for more details.
We provide a specific Docker container, called Project Migrator, to migrate the projects from old Percept versions so that you can re-use them in a newly installed one. You can start the Project Migrator by executing the corresponding docker-compose command (you can find more details about how to do it in how to start Percept):
-
docker-compose -f docker-compose-project-migrator.yml up
After having updated all the projects in the data/projects folder, the Docker container will automatically shut down.
You can now start the new version of Percept and run your migrated projects or create new ones.