Sensor Setup
Sensor Setup
In Percept you have the choice of creating a one LiDAR or a multi LiDAR setup. In this section we want to discuss when to consider which type of setup.
How many LiDAR devices to use is highly dependent on your use case and the environment where the devices are mounted. We hope that the following sub-sections will give you the information you need to decide if one LiDAR is enough or you need a multi LiDAR setup.
One LiDAR Setup
The basic setup consist of only one LiDAR, but with this setup you can already create a lot of cool projects.
This setup has the benefit of having a simple installation. You only have to mount one LiDAR and adjust the orientation so that the LiDAR can measure the area you want.
This setup is especially useful:
-
If you want to cover an area that fits in the field of view of one device
-
If there are no blind spots in the area you are interested
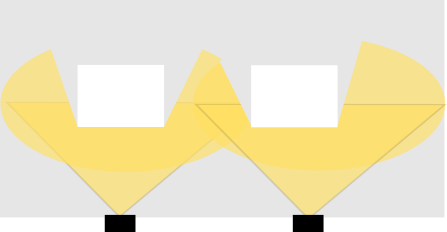
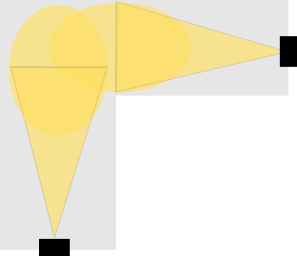
Multi LiDAR Setup
Under a multi LiDAR setup we assume that you have at least two LiDARs which are mounted in a way that they have an overlapping area.
A multi LiDAR setup is then required if you cope with e.g.:
-
An area that cannot be covered by only one LiDAR, because it is too large or winding
-
Difficult mounting positions e.g. the mounting height is limited
-
A lot of occlusion e.g. through pillars or walls
-
All of the above
| The point clouds need to have an overlap between each other to register them |
Too large or winding area to cover
One obvious reason is that you might not be able to cover an area with only one LiDAR and need a second one to expand to the area. But it could also be that the area you want to monitor has a corner and you need a second sensor to look "around" it.
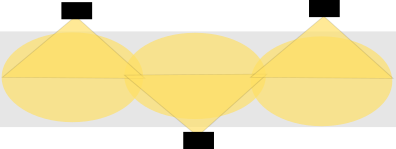
Another reason to add another sensor could be that the spacing between points gets higher with the distance to the device. Therefore an object will return less points or might even disappear between the scanlines or points. That makes it more difficult to reliably detect smaller objects. Mounting another LiDAR e.g. from the opposite direction can help to improve the result.
Difficult mounting positions
The mounting position is important for a good coverage of the area you are interested to monitor. Sensors mounted too hight might cover a larger area but also will loose information through the higher point spacing in the distance. Sensors mounted too low might not detect objects too close through the minimum range requirement of the device or because they are blocked by objects in front of the device.
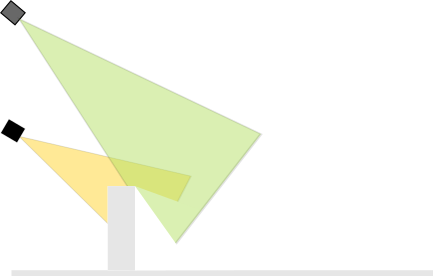
Occlusion
There are different kinds of occlusion. Some of them might happen through objects moving into the scene and blocking the view. If this is a problem consider a different mounting height/position. Another reason is static objects like walls or pillars. In this case, another sensor from a different side can help to reduce the blind spots.